Get Versatility Out of Portable Coordinate Measuring Machines
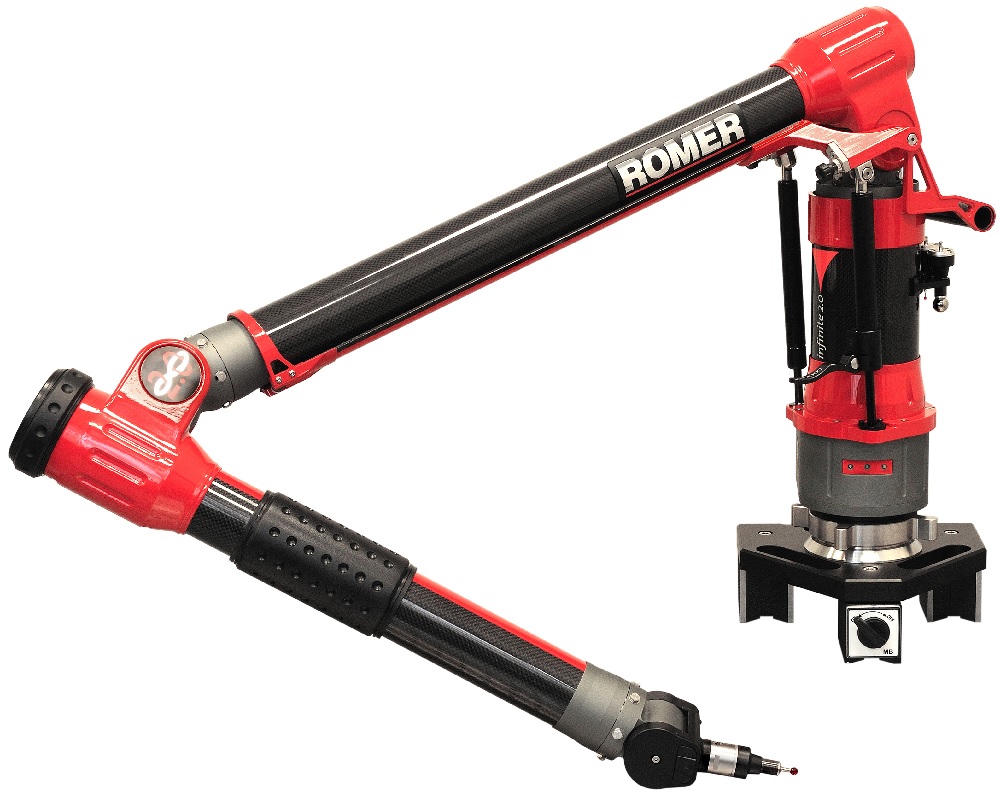
The latest trends in metrology machines are leaning toward increased flexibility, versatility, and the ability to do inspections on the shop floor. One popular answer to the need to measure large and complex components on the shop floor are portable arms, especially those with integrated scanning systems. Portable arms, as their names suggest, also have the added advantage of transportability. They can be assembled and disassembled without having to be recalibrated and easily transported from one location to another by car. They are the tool of choice of many contract metrologists who do onsite inspections, too, since they can measure beyond their arm span. That makes an ideal piece of equipment for those components that require onsite inspection because they are too large, heavy, or cumbersome to efficiently transport.
Portable arms are one of the more cost-efficient ways to introduce coordinate measuring machines into your shop if you haven’t relied on them before. Shops that supply oversized components to automotive, aerospace, rail, and other sectors are quickly finding that this equipment is becoming industry standard. However, any shop introducing coordinate measuring machines into its quality assurance department gains a competitive edge, as their customers gain confidence in the quality of the components they receive.

Some of the features and benefits that come with introducing a portable arm to your shop floor involve:
Instant feedback — You can identify machine tool and programming errors much faster when you bring quality assurance closer to the production process. Cut down on scrap and rework hours by implementing a rapid approach to inspection.
Simplified process — One of the biggest differences between portable and traditional coordinate measuring machines is the complexity of the measuring process. There are only three steps to using a portable CMM: position the part, inspect the reference points by touching the probe to the part, and report the results.
Integrated scanning — This gives you the power to quickly reference thousands of data points. Beyond inspection, one of the primary applications of scanning systems is reverse engineering.
Probing versatility –Since they move on six (or sometimes seven) axes with infinite rotation, you can reach difficult points on complicated geometry that a three-axes bridge would have a much harder time reading.
No programming – Because programming is frequently a time-intensive step in metrology, you can save a lot of time with a portable arm. While you can program guided routes, these unique tools can also be used as “plug-and-play” equipment.
Depending on your tolerance environment and how heavily you use it, a portable arm should be recalibrated once every 6 to 12 months (see: Cmmxyz.com/portable-cmm). This is perhaps the one drawback compared to other coordinate measuring machines. Because it’s used manually, you will need to inspect it more frequently. Before you decide on where to purchase your metrology machine, you may want to consider factors like the cost of a used model and vendors who can follow up with regular calibration and maintenance at a fixed cost per year. For example, your articulated arm can be adjusted and/or verified by companies like Canadian Measurement-Metrology (CMM) in 2 to 3 days, including scanning systems. Before making this investment, do your research and buy from a trusted metrology vendor.


